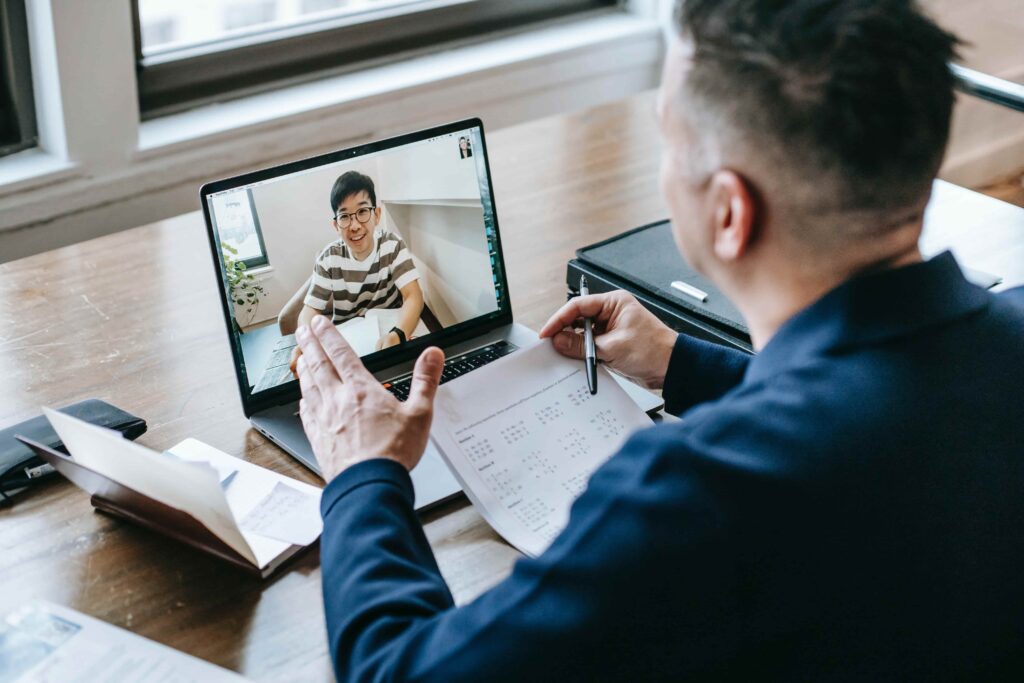
As the virtual learning space continues to thrive and evolve at a rapid pace, more and more educational institutions and private tutors choose to collaborate with their students online. However, as with everything in this life, there are challenges to be overcome. For instance, not everyone can attend an online class based on such circumstances as different time zones, lack of technology, etc. Luckily some options can ease educators’ life, saving them priceless time and effort! One such variant is recording lectures and sharing them with the students or colleagues. What’s the best way to record lectures? Let’s find out together!
Why Should You Consider Recording Your Lessons?
There are several reasons why recording lectures is a great decision.
First of all, it’s pretty flexible for everyone involved. The students can watch the recordings at any time that suits them best. They can also go back to specific parts of the lecture if they need to review something.
Secondly, it allows you to focus on your teaching without worrying about technical issues. Imagine the stress levels when the lights go off during an online session, or the audio starts to lag. By recording the lesson, you can ensure that everything will go smoothly and your students won’t miss out on anything important.
Last but not least, it’s a great way to assess your teaching performance. Later on, you can listen to the recording to see what worked well and what didn’t. This way, you can make necessary changes and improve your lecture for the future.
Now, we’re smoothly drifting to the practical part!
What Is the Best Way to Record Lectures?
Before passing on the gist, it is crucial to sort out different types of recordings. The most common ones are screencasts and audio recordings.
A screencast is a recording of everything that appears on your computer screen, including any accompanying PowerPoint slides or images. How can you use a screencast? For example, a screencast can help you give a presentation or demo something on your computer.
An audio recording, on the other hand, captures only the sound. It’s best used in conjunction with a screencast so that your students can see what you’re talking about as they listen.
As for the best way to record lectures, many innovative tools and platforms are available on the market. How do you choose the best one? Save the following quick tips for better results.
Look at the Quality!
Of course, you would want the students or colleagues to be able to hear and see you. It’s best to find a tool to replace the urge to hide under a blanket or rent a lecture room to avoid background noise or interruption.
Choose an Easy-to-Use Platform!
The best recording tool is the one that doesn’t require any special skills or knowledge to use. Look for a platform with an intuitive interface and straightforward controls.
It should be compatible with the devices and software you already use. Suppose your streamline your online lectures via Zoom. Choose a recording tool with a Zoom integration for a more seamless workflow.
Don’t Miss Out on Recording Extra Content!
By extra content, we mean those precious moments when the best ideas come to your mind or when an interesting discussion with the students occurs. To ensure you don’t miss anything, look for a tool that will allow audio and video recording.
C’mon, Use LiveBoard Instead!
It might be time-consuming to find the best way to record lectures with many factors to consider. To make your life easier, we’ve researched for you!
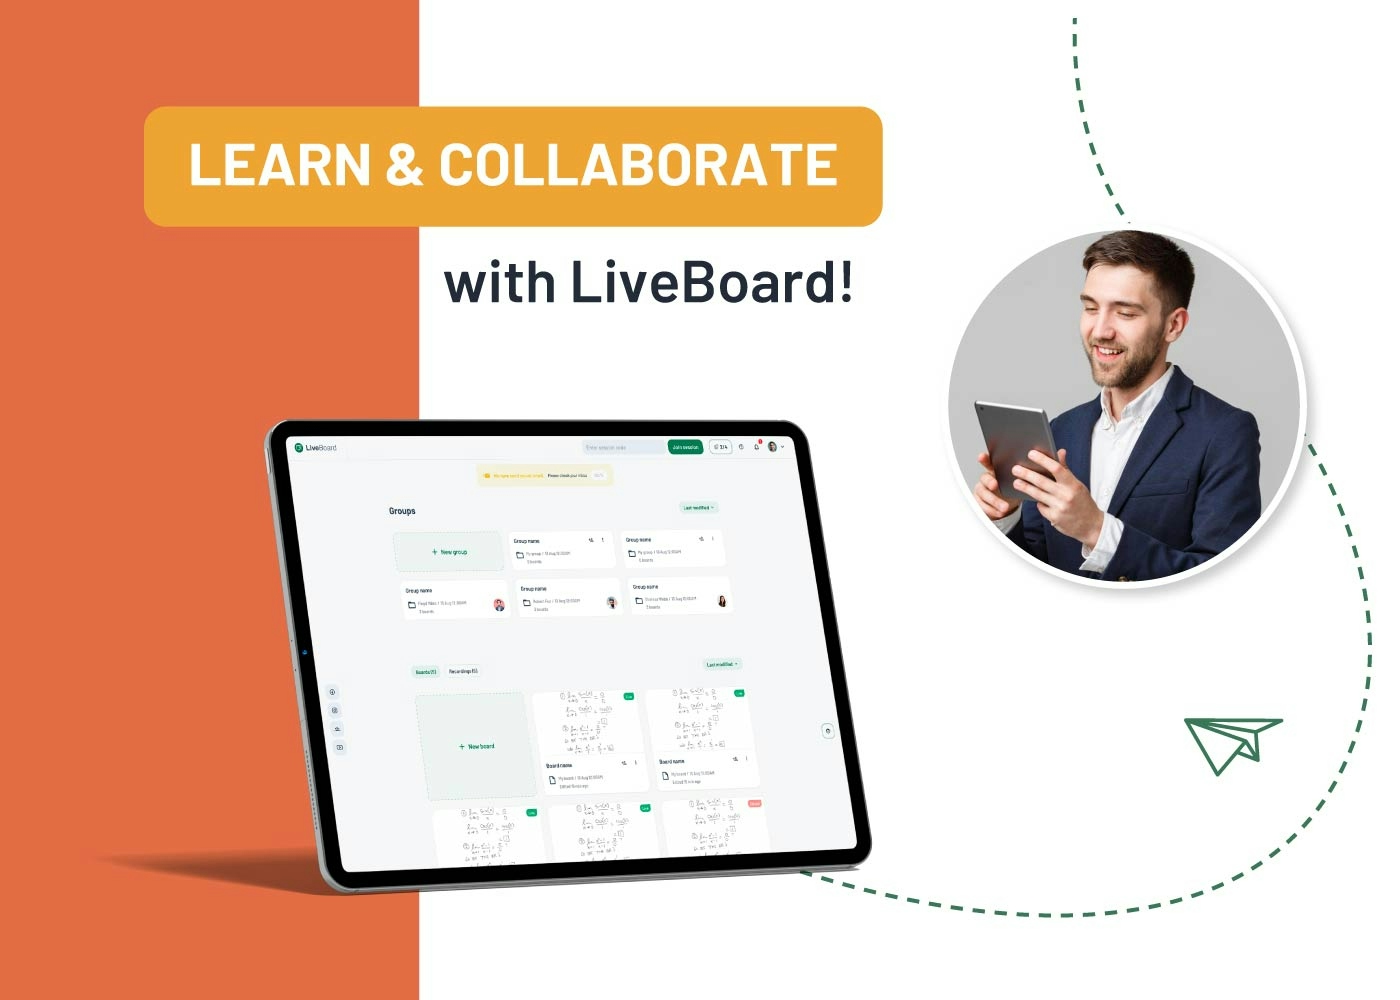
LiveBoard is an online collaborative platform designed for tutors and educators who teach and share their knowledge online. It’s a practical platform that lets educators record their lessons with audio and video without hassle. Let’s have a closer look at some of its main features and see how you can make the most out of it.
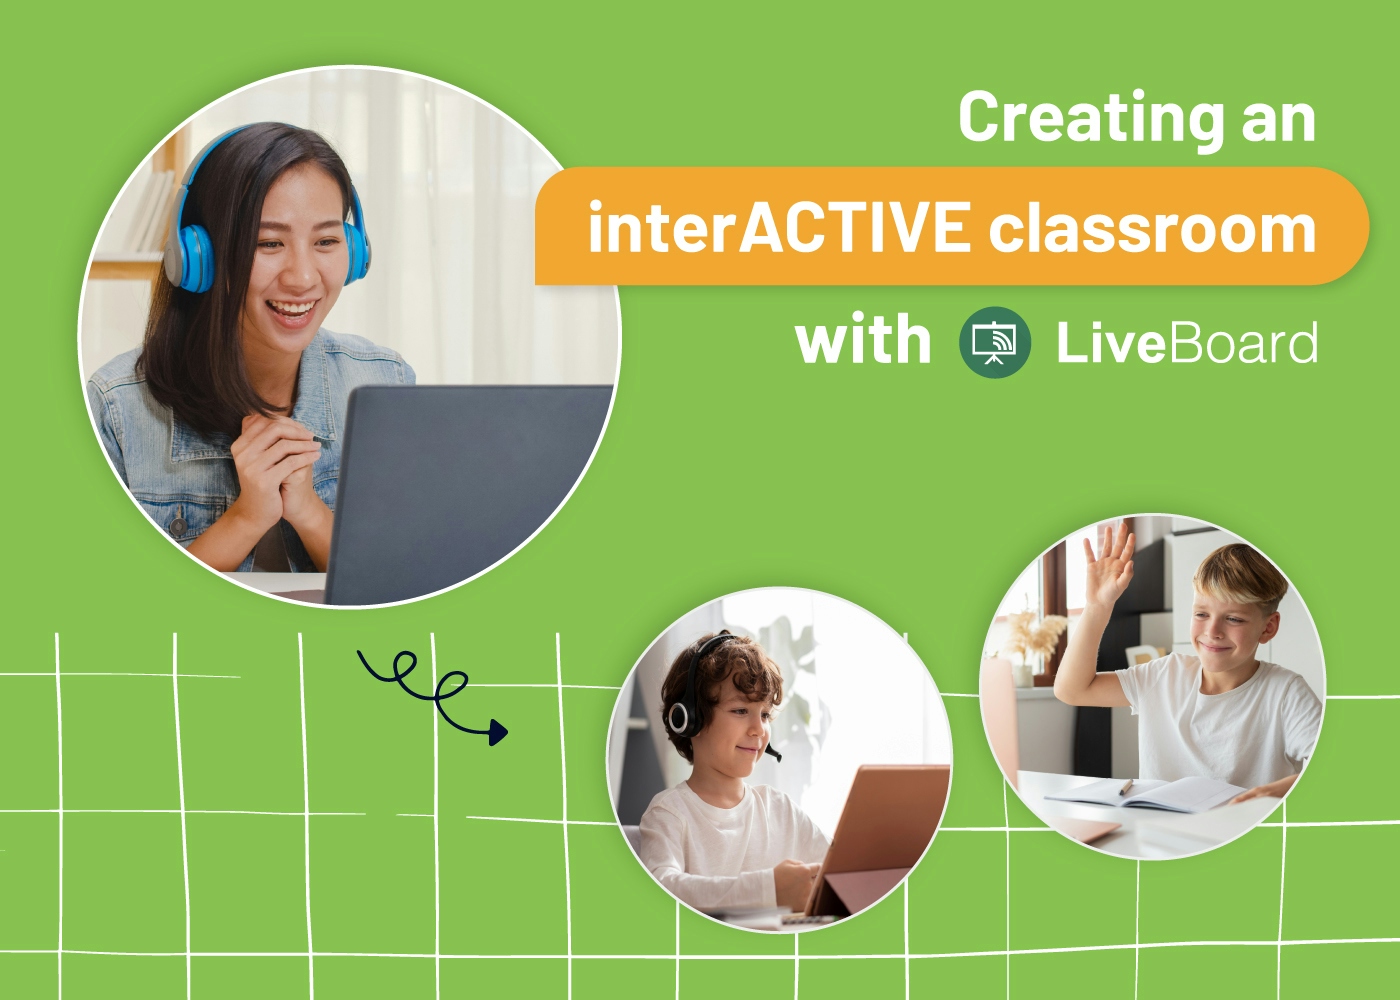
Real-Time Collaboration with Students
Use LiveBoard to engage with your students in real-time easily and work on projects together. The platform also supports various file formats so that you can insert images or PDFs into the lesson for a more enriching experience.

Tutors can also create quizzes and share them with students right from LiveBoard’s user-friendly interface. Check whether everyone got the lesson’s main points by monitoring the results in real-time.
Record Live Tutorials and Lesson Sessions
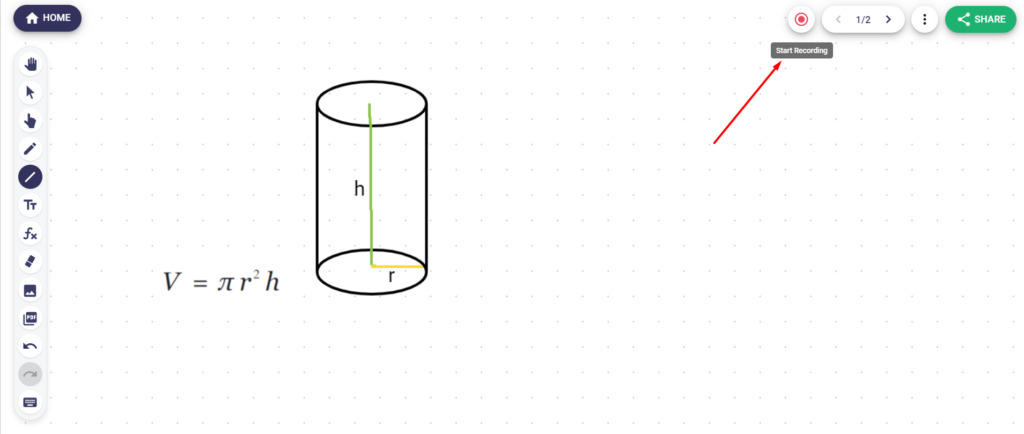
With LiveBoard, you can quickly start recording your lesson by pressing the “Record” button on the main toolbar. The platform will automatically record both your audio and video so that nothing gets lost. Use the built-in infinity whiteboard to draw, attach, or write down important points during the record without worrying about space limits.
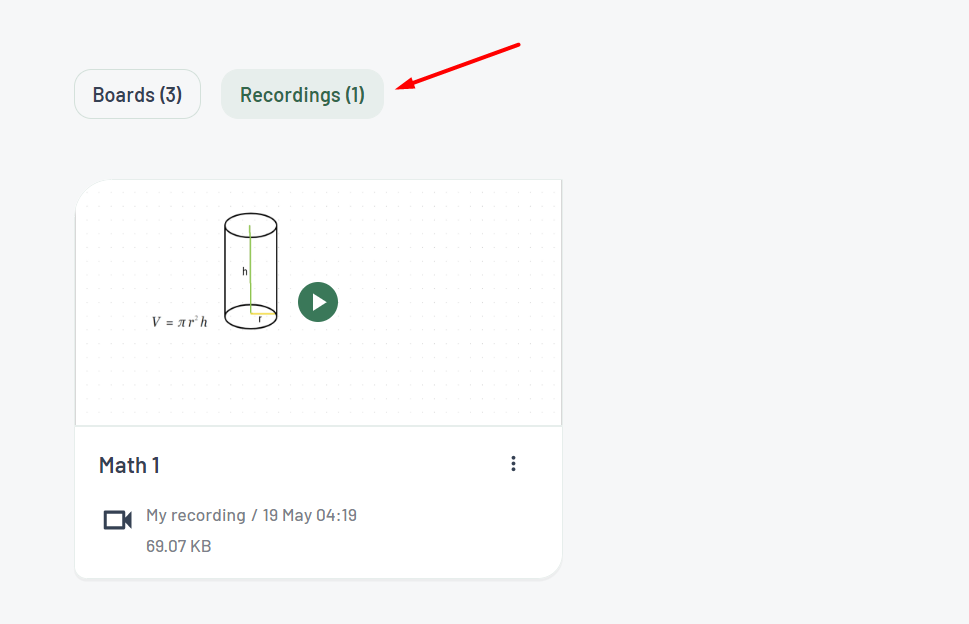
This is especially helpful when tutors have no time to concentrate on technical stuff and just want to focus on the lesson itself. In case you need to go back and review the recording, you can do so by accessing the “Recordings” tab in your LiveBoard account.
Students’ Attention Tracker Makes Magic!
Attention tracker is another excellent feature that attracts newcomers to continue using LiveBoard for online classes. Once a student shifts the tab, the green circle around their photo turns yellow. Tutors can also track the time students were away from the lesson tab. The feature helps you address the issue and ensure everyone is on the same page.
In other words, LiveBoard’s students’ attention tracker ensures no one is lost in daydreaming during the lecture.
So, whether you’re an educator who wants to make your life a little easier or a student struggling to keep up with the class, you have plenty of options. Recording lectures is just one example. We hope this article has given you some helpful tips on doing it the right way!