A virtual classroom is a learning environment that exists online, typically accessed through a web browser or a specifically designed software/application. It enables teachers to deliver lessons and materials to students who are not physically present in the same room. Virtual classrooms often use video conferencing and other real-time communication technologies to allow students and teachers to interact with each other in real time. Virtual classrooms differ from video conferencing tools through features and tools designed specifically for learning environments.
But how can you successfully set up a virtual classroom? What are its main benefits and features, and how does that affect students and their experience? Learning more about the virtual classroom and its characteristics will allow you to create a top-level virtual classroom and make the most of what it can do for you.
Main Features of a Virtual Classroom
Before we get into the how-to, let’s briefly explore the core features of a virtual classroom, so you know what to look for and what to include in yours.
A virtual classroom should offer:
- A learning management system (LMS) or virtual learning environment (VLE): This is the software/application that enables students and teachers to interact with each other and access learning materials.
- Easy ways to communicate: This can be through video conferencing, chat tools, forums, or even virtual whiteboards.
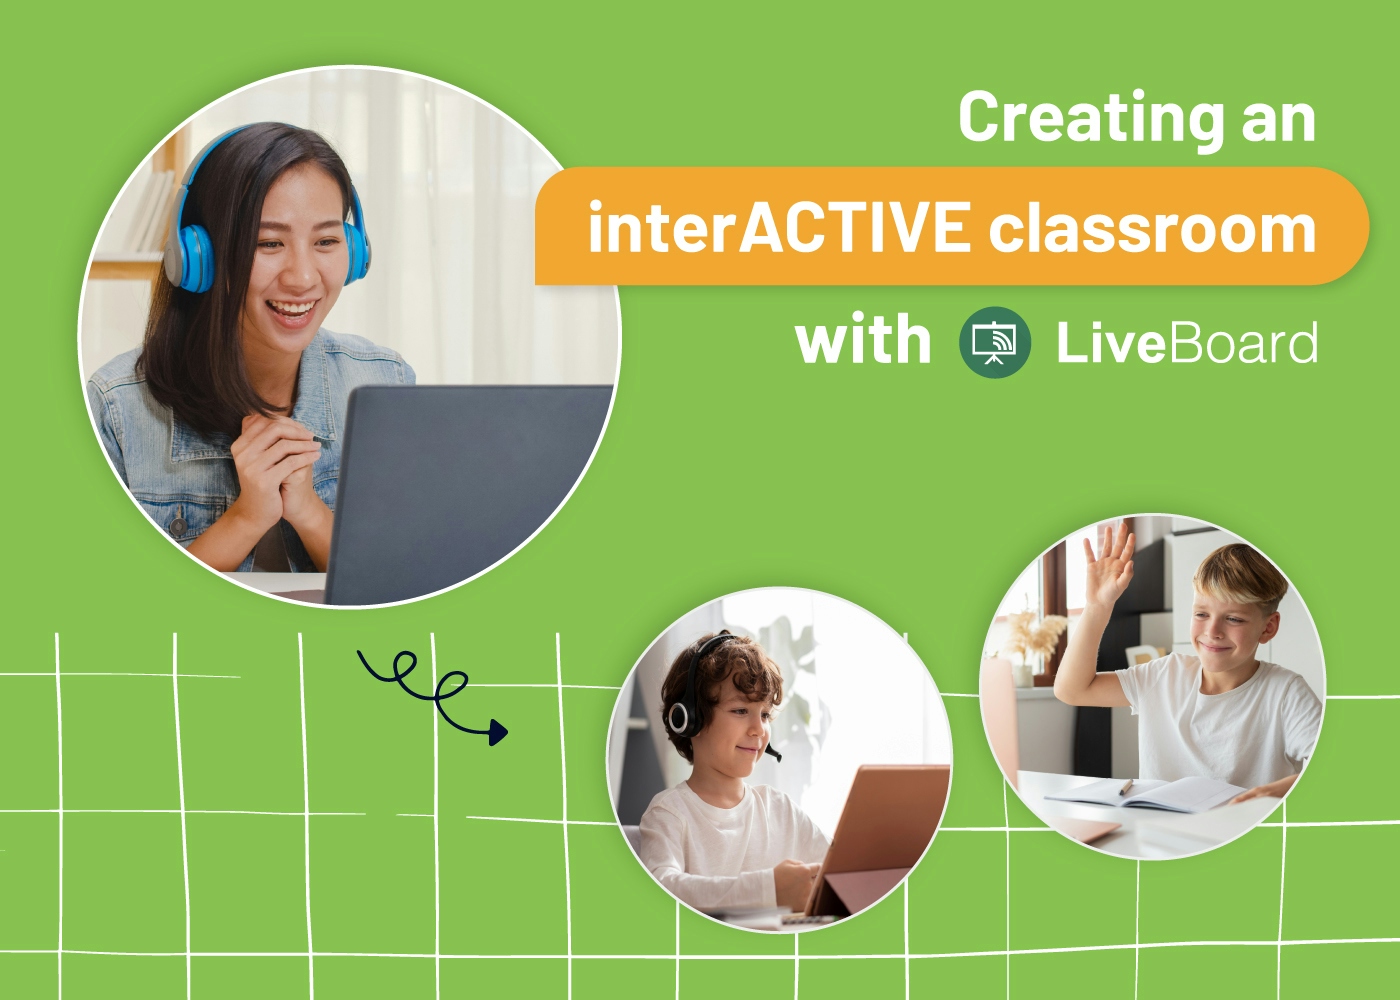
- Engaging and interactive content: Virtual classrooms should offer more than just text on a screen. Look for platforms that allow you to include multimedia content such as videos, images, audio, and documents. Additionally, you can refer to other supplemental e-learning resources that will help you enhance the overall experience for you and your students.
- Assessment tools: Virtual classrooms should offer a range of ways to assess student learning, such as quizzes, polls, surveys, etc.
- Session recording feature: this is a valuable tool for students who want to review the lesson later or were unable to attend the live session.
- Breakout rooms: this feature allows you to split the virtual classroom into smaller groups so students can work on group projects or have discussions. The teacher can join whenever it’s needed.
Creating Your Virtual Classroom
Setting up a virtual classroom entails preparing both the physical space where you’ll be conducting your classes, and the online space where it will be attended. In most cases, your educational institution will lend you a helping hand. However, a few customization and planning options will be under your control.
Prepare Your Physical Space For Teaching
This is the first and most crucial step in setting up your virtual classroom. If you’re going to be teaching from home, make sure your home office is set up to be conducive to learning. Ideally, your physical space should be devoid of noise, far from traffic, construction, or loud appliances. You should also make sure you feel the necessary level of comfort. Choose a comfortable room in terms of temperature, lighting, and furniture. You don’t want to be distracted by an uncomfortable environment. In addition, keep any physical material that you will be using nearby. While it’s understood that you will be mainly using digital learning material, you may need to use visual aids or reference books.
Set Up Your Virtual Tools in Advance
You will need to set up your virtual tools in advance, whether they are provided by your institution or purchased individually. Ensure you and your students have access to them and know how to use them.
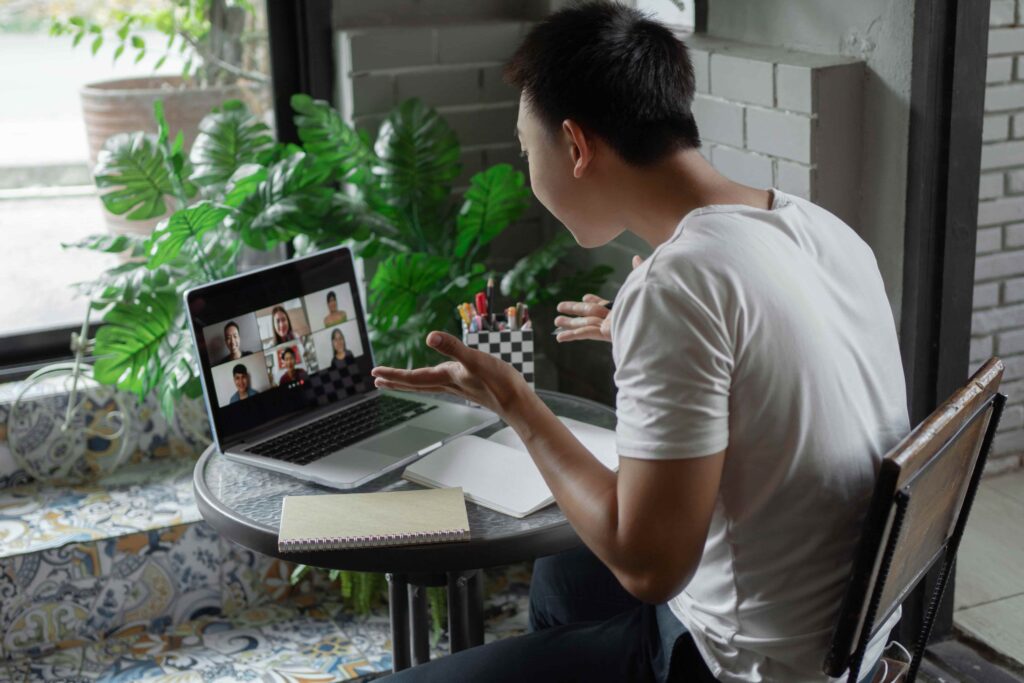
- Video conferencing tool: This will be the primary means of communication between you and your students. Many video conferencing tools are available, such as Skype, Google Hangouts, and Zoom. Choose the one you’re most comfortable with and which offers the features you need.
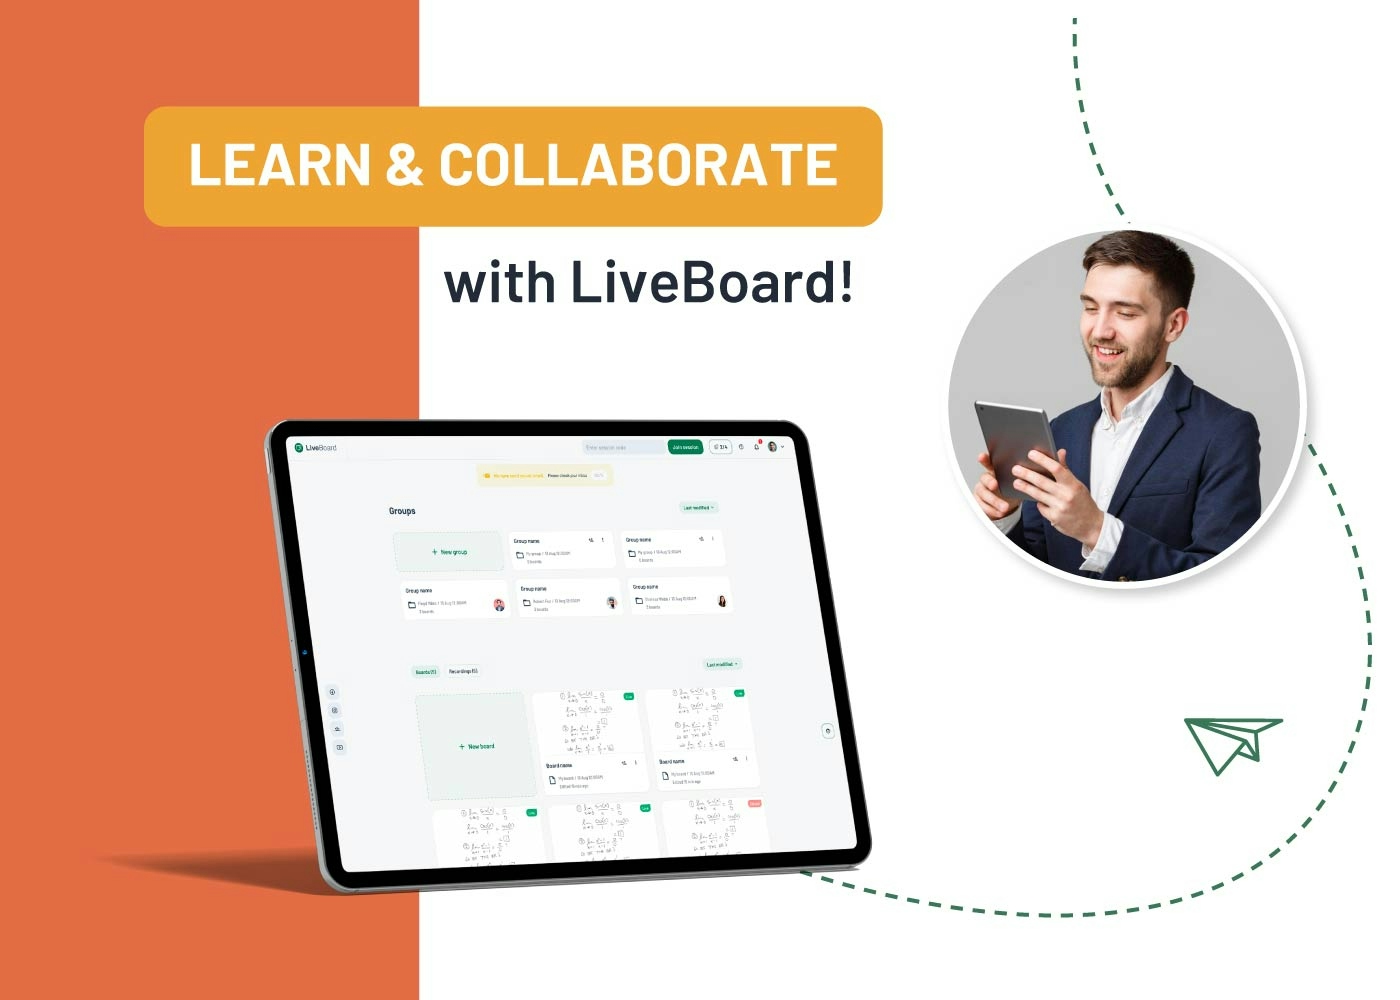
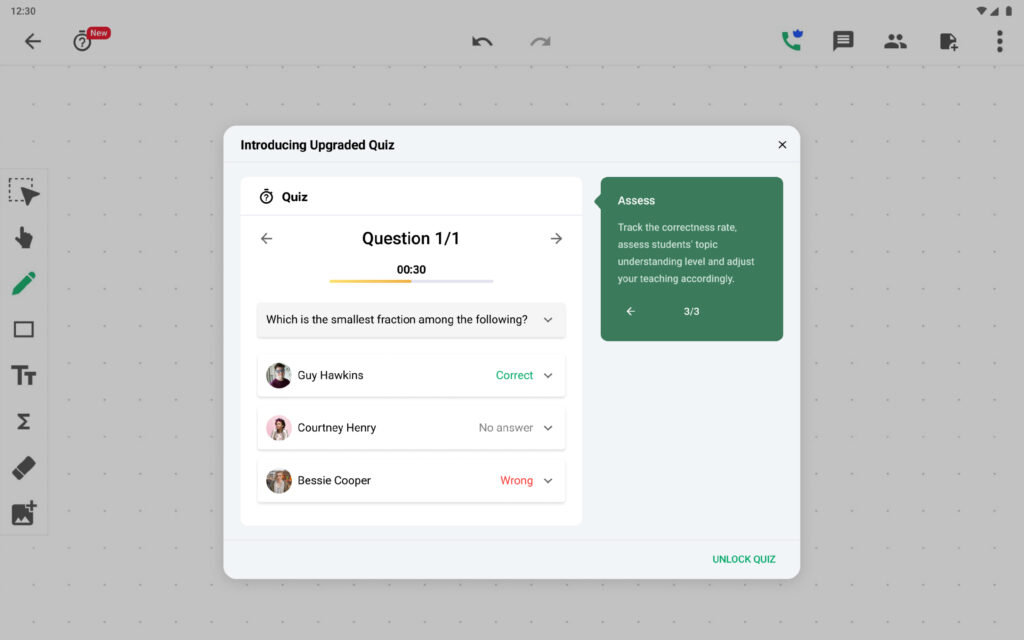
- Digital Whiteboard: You’ll also need a virtual whiteboard to use together with your video conferencing tool. If you want to ensure the best experience for your students, we suggest LiveBoard, which can be used on any device and offers a wide range of features that will enhance your virtual classroom experience. It allows you and your students to work on a digital whiteboard interactively and record your sessions in real time, which you can later share with students who missed the class. It also allows you to work with images and PDF documents to enhance your delivery of class material. Additionally, you can make quizzes to assess the classroom’s grasp of the topic. Moreover, LiveBoard has a chat feature, which allows you and your students to easily communicate, make comments, and ask questions without distracting the person talking. On top of all that, LiveBoard has the integration of Zoom.
- Learning management system: You’ll need a way to share digital learning material with your students. The best way to do this is through a learning management system (LMS). An LMS is an online platform for uploading and sharing class material, such as presentations, videos, and PDF documents. Additionally, you can use an LMS to create assignments and quizzes for your students. LMSs you can use include Moodle, Blackboard, and EdModo.
Test The Equipment
Once you have all the equipment and virtual tools set up, it’s time to test them out. This is one important step that is often overlooked. Ensure everything is working correctly and you know how to use all the features. It’s also good to do a test run with a friend or colleague. It will help you identify potential problems and solve them before your virtual classroom is up and running. Additionally, have your students test out their equipment to make sure everything is working smoothly.
Adjust Your Syllabus
If you’re used to teaching in a physical classroom, you may need to adjust your syllabus to take full advantage of virtual classrooms. For example, you can add more group work and collaborative projects into the mix. Additionally, since virtual classrooms provide more flexibility, you can adjust the pace and delivery of your material to better suit your students’ needs. Let them know what to expect by sending them the syllabus in advance so they can be prepared.
Prepare Your Material in Advance
Virtual classrooms offer more flexibility, but preparing your material in advance is always essential. It will help you stay organized and on track, and will also allow you to test any virtual tools or equipment you’ll be using. By preparing your material in advance, you can avoid potential problems during the class. Similarly, make sure you upload the class material to the LMS ahead of time so your students can access it. Videos, readings, valuable links, presentations, and assignments can be uploaded and made available to students beforehand.
Focus on Ways to Build Your Classroom Community
One of the challenges of virtual classrooms is building a strong sense of community. It is important because it helps create a more supportive and engaging learning environment. There are a number of things you can do to build your virtual classroom community:
- Start by creating an online space where students can introduce themselves. You can also host virtual office hours so students can come and ask questions or get help outside of class.
- Use virtual icebreakers and group work to help students get to know each other.
- Make sure to check in with your students regularly to see how they’re doing and offer support when needed.
By building a solid virtual classroom community, you can create a more positive and successful learning experience for your students.
Wrapping Up
Virtual classrooms are a great way to teach and learn when physical classrooms are not an option. By following the tips above, you can set up a virtual classroom that is engaging, supportive, and successful. With a little preparation, you can make sure your virtual classroom is everything you need it to be.